How to Read a Tape Measure for Beginners? (The Easiest Way)
Whether you want to hanging a picture frame, crafting a new piece of furniture, or simply measuring space for a new appliance, knowing how to use a tape measure correctly is essential. Despite its simplicity, a tape measure can seem daunting to those unfamiliar with its markings and peculiarities.
This guide is designed to demystify the tape measure for beginners, making it easy to understand and use for everyday tasks and professional projects.
In this post, we’ll walk through the essential components of a tape measure, explain the different measurements you can read, and provide a straightforward, step-by-step tutorial on accurately measuring objects and spaces.
Whether for DIY home improvements or professional requirements, mastering the tape measure is a handy skill that will serve you well throughout life.
Understanding The Tape Measure
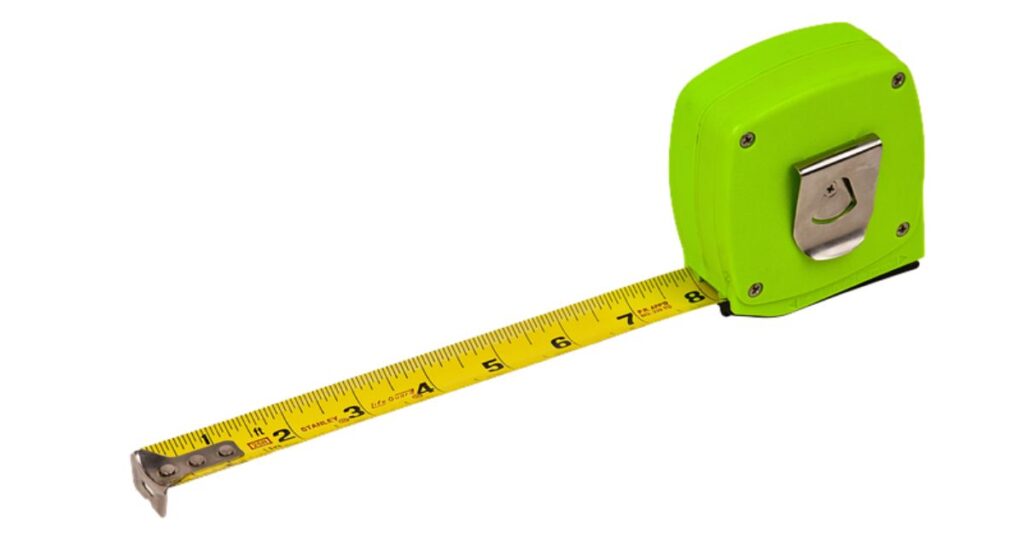
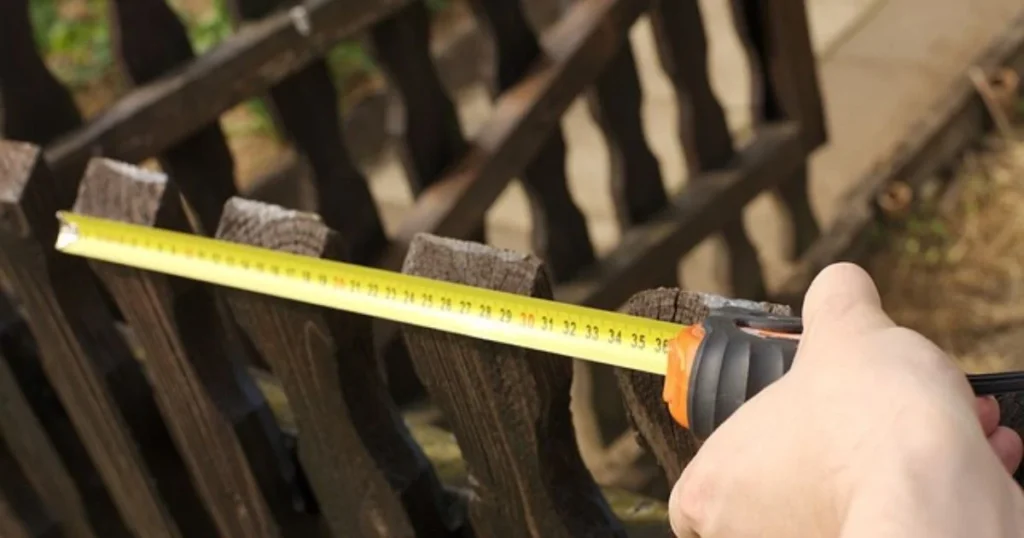
You can use a tape measure to find out how big something is or how far something is. It comprises a cloth ribbon, plastic, fiberglass, or metal strip with linear-measurement markings.
Most commonly found in households and tool kits, tape measures are indispensable in construction, carpentry, and many everyday tasks.
Key Components of a Tape Measure
- Blade: The blade is the tape, typically marked with measurements and made from a durable material that can withstand bending and folding. Blades may have a concave design to help them remain stiff when extended.
- Case: The outer casing of a tape measure protects the blade and provides a mechanism to retract it. It is often made of plastic or metal.
- Lock: A button or sliding mechanism on the case allows the user to lock the blade at a desired length, preventing it from retracting.
- Hook: At the end of the blade, a small metal hook helps to catch onto the edge of objects, ensuring accurate measurements. The Hook is slightly loose by design; this accounts for its thickness when taking internal and external measurements.
- Spring Mechanism: Inside the case, a spring mechanism automatically retraction the blade when the lock is released.
Understanding Tape Measure Markings
The surface of the measuring tape blade is covered in a series of markings denoting various measurement units. The most common system in the United States is the imperial system, which includes inches and feet.
However, the tape measures may also feature metric units such as centimeters and meters, depending on the model or the region.
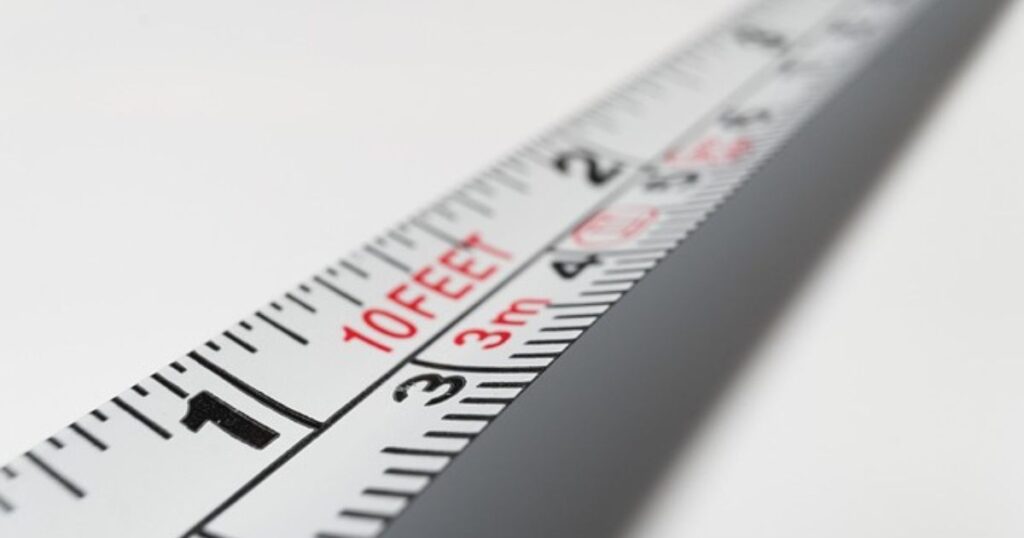
- Large Numbers and Lines: These usually represent inches in the imperial system or centimeters in the metric system. The largest numbers on the tape measure may indicate foot markings.
- Smaller Lines: Between the larger inch or centimeter markings, smaller lines indicate fractions of the unit (like half inches or quarter inches in the imperial system or millimeters in the metric system). Understanding these increments is crucial for precise measurements.
Types of Measurements on a Tape Measure
A tape measure can feature two primary systems of measurement: the imperial system, which uses inches and feet, and the metric system, which uses centimeters and meters. Understanding how to read both can be beneficial, especially in projects requiring precision in different measurement units.
Reading Imperial Measurements
- Inches and Feet: On a tape measure using the imperial system, you’ll find the largest numbers typically represent inches, and often, every 12 inches are boldly marked to indicate a foot. The foot markings may be underlined or written in a different color for better visibility.
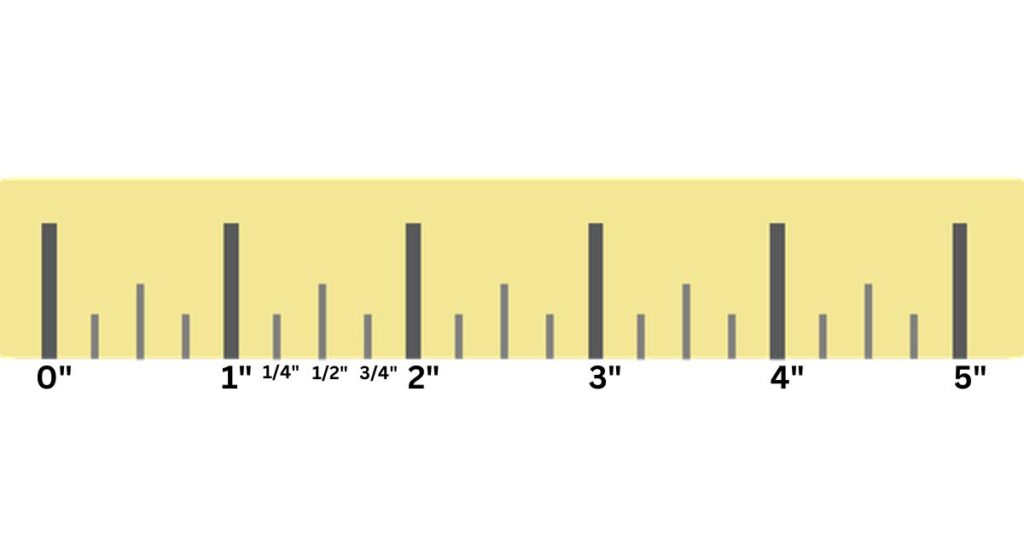
- Fractions of an Inch: Short lines represent fractions of an inch between the inch markings. These fractions typically include 1/2, 1/4, 1/8, and 1/16 of an inch. The smallest lines usually denote 1/16 of an inch, which are closer together.
Reading Metric Measurements
- Centimeters and Meters: Large numbers usually represent centimeters in the metric system, and every tenth centimeter is commonly marked with a longer line. Furthermore, every 100 centimeters (equivalent to a meter) might be highlighted with a unique mark or a different color.
- Millimeters: Between each centimeter mark, nine smaller marks usually denote millimeters. These provide a more granular measurement compared to inches.
Tips for Reading Measurements
- Quick Identification: Learning to quickly identify the different lengths between the markings without counting each small line every time will speed up your measurement tasks.
- Visual Markers: Some tape measures include visual markers or labels at commonly used lengths (16 inches or 32 inches), which correspond to typical spacing for studs in construction. These are often highlighted in a different color or font style.
How to Read a Tape Measure? Step-by-Step Guide
Reading a tape measure is a fundamental skill that enhances your precision in any project that involves measurement. Here’s how you can read a measuring tape efficiently, broken down into easy-to-follow steps:
How to Read Large Numbers
- Identify the Units: Start by recognizing whether the tape measure is in inches and feet (imperial) or centimeters and meters (metric). The largest numbers on the tape will typically represent the primary unit (inches or centimeters).
- Reading Whole Numbers: Each large number on the tape corresponds to one whole unit from zero. For instance, if you’re using an imperial tape, each large number is one inch from the last large number.
Understanding Smaller Markings
- Fractions of an Inch (Imperial):
- Half-Inch Markings: These are the second longest lines after the inch markings, usually found halfway between two-inch marks.
- Quarter-Inch Markings: (1/4 and 3/4) These are slightly shorter than the half-inch markings and divide the inch into quarters.
- Eighth-inch markings: (1/8, 3/8, 5/8, 7/8) Even shorter than quarter-inch markings, these divide the inch into eighths.
- Sixteenth-inch markings: (1/16, 3/16, 5/16, 7/16, 9/16, 11/16, 13/16, 15/16) The shortest lines on an imperial tape measure, dividing the inch into sixteenths.
2. Millimeters (Metric):
- There are ten equal parts in every centimeter. with each small marking representing a millimeter. There are typically ten small markings between each centimeter mark.
In addition to understanding the basic markings on a tape measure, knowing standard notations for representing measurements is also helpful. For instance, the double prime symbol (″) denotes inches, while the single prime symbol (′) indicates feet.
So, if you encounter a measurement like 10″, this translates to 10 inches; similarly, 10 ′ refers to 10 feet. Being familiar with these symbols can aid in reading and interpreting measurements quickly and accurately.
Tips for Accurately Aligning the Tape Measure
- Align the Hook Properly: Make sure the Hook at the end of the tape measure is securely hooked onto the object if measuring externally. For internal measurements, press the Hook against the edge from which you are measuring.
- Check for Slack: Ensure there’s no slack in the tape measure when taking measurements. A slack tape can lead to inaccurate readings.
- Use the Lock: Utilize the tape measure’s lock to extend the tape without snapping back. This allows you to read the measurement without holding the tape in extension.
- Take Note of the Hook’s Movement: Remember that the Hook at the tape measure’s end is movable to account for its thickness. This ensures that measurements are accurate whether the tape is pushed in for internal measurements or pulled out for external measurements.
By following these steps, you can confidently and accurately measure various items. Whether you’re working on a DIY project at home or need precise measurements for professional work, mastering these basic principles will make you proficient in using a tape measure.
Common Mistakes to Avoid
When learning to use a tape measure, especially as a beginner, several common mistakes can affect the accuracy and outcome of your measurements. Being aware of these pitfalls and how to avoid them can save you time and improve the precision of your work.
Misreading Between the Marks
- Confusing Marks: One of the most frequent errors is confusing the marks on the tape measure, especially the smaller increments like 1/8 and 1/16 of an inch. To avoid this, take a moment to closely examine and familiarize yourself with the different lengths of the markings before beginning your measurement.
- Rushing the Measurement: Read the measuring tape slowly. Rushing can lead to overlooking a mark or miscounting the divisions between larger numbered increments.
Not Accounting for the Tape Case or Slack
- Ignoring the Hook’s Compensation: The Hook at the end of the tape is designed to move slightly to account for its thickness. Failing to use this feature by improperly hooking or pressing the tape against surfaces can result in inaccurate measurements.
- Allowing Slack in the Tape: Holding the tape loosely or letting it bend or sag can significantly alter the measurement. Always ensure the tape is straight and taut during use.
Errors in Reading the Imperial Versus Metric Scales
- Mixing Measurement Systems: Sometimes, tape measures have both imperial and metric scales, and confusing these scales can lead to significant mismeasurement. Always double-check which scale you use, particularly if you switch frequently between systems.
- Assuming Similarities in Scale: Do not assume that measurements taken in one system can be easily converted by simply reading the other side of the tape measure; use a conversion tool or chart to ensure accuracy when converting from inches to centimeters or vice versa.
You can improve how well you use a tape measure by being aware of these common mistakes and trying to avoid them. Practice regularly, and don’t hesitate to double-check your measurements to ensure accuracy—this can make a substantial difference in the quality and success of your projects.
Conclusion: The Importance of Precision
Mastering a tape measure is a fundamental skill beyond simple DIY projects to professional construction, carpentry, and interior design applications. The ability to accurately measure ensures that materials are used efficiently, spaces are utilized effectively, and structures are built correctly.
Recap of Key Points
- Understanding Your Tape Measure: Familiarize yourself with the tape measure’s components and markings, including knowing the difference between inches and centimeters and smaller increments.
- Reading Techniques: Practice reading large and small measurements accurately, and use the tape measure’s lock feature to stabilize the tape during use.
- Avoiding Common Errors: Be vigilant about common pitfalls like misreading the small markings, not using the Hook correctly, or allowing the tape to slack, leading to measurement errors.
The Value of Accurate Measurement
Accurate measurements are crucial in ensuring that pieces fit together perfectly, that there is minimal waste of materials, and that the results look professional and polished.
Whether you’re building a house, making furniture, or simply hanging a picture, the ability to measure precisely is indispensable.
Continuing to Improve
Like any skill, proficiency with a tape measure comes with practice and experience. Don’t be discouraged by initial mistakes; use them as learning opportunities. Over time, you’ll find that measuring becomes a quicker and more intuitive part of your projects.
In conclusion, understanding how to read a measuring tape correctly is more than just a practical skill—it’s a foundation for executing projects confidently and accurately.
Keep practicing and stay mindful of the details, and you will find that this seemingly simple tool can significantly enhance the quality and execution of your work.
Read More The Ultimate Guide to Understanding the Metric and Imperial Systems